
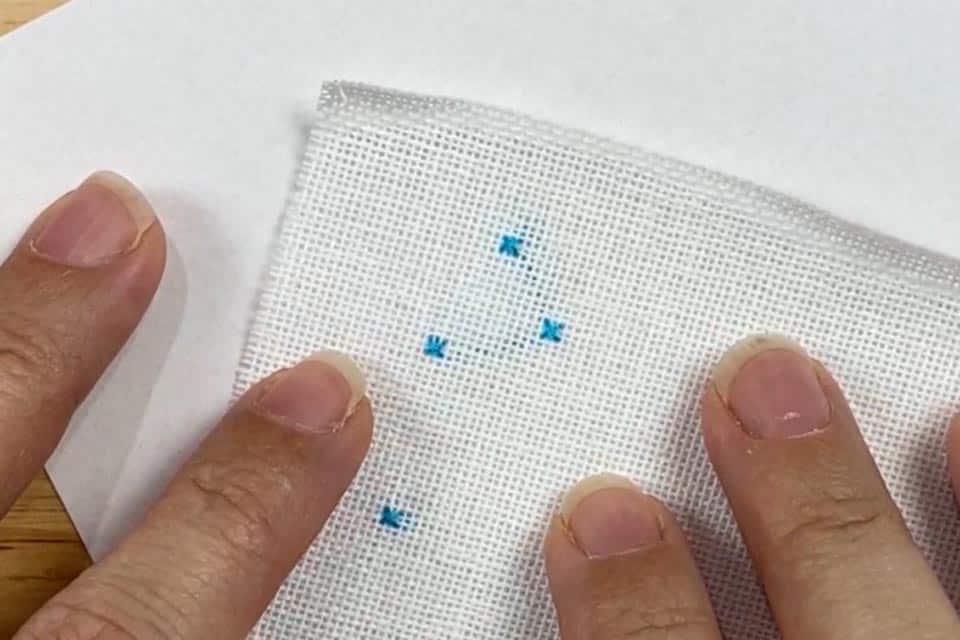
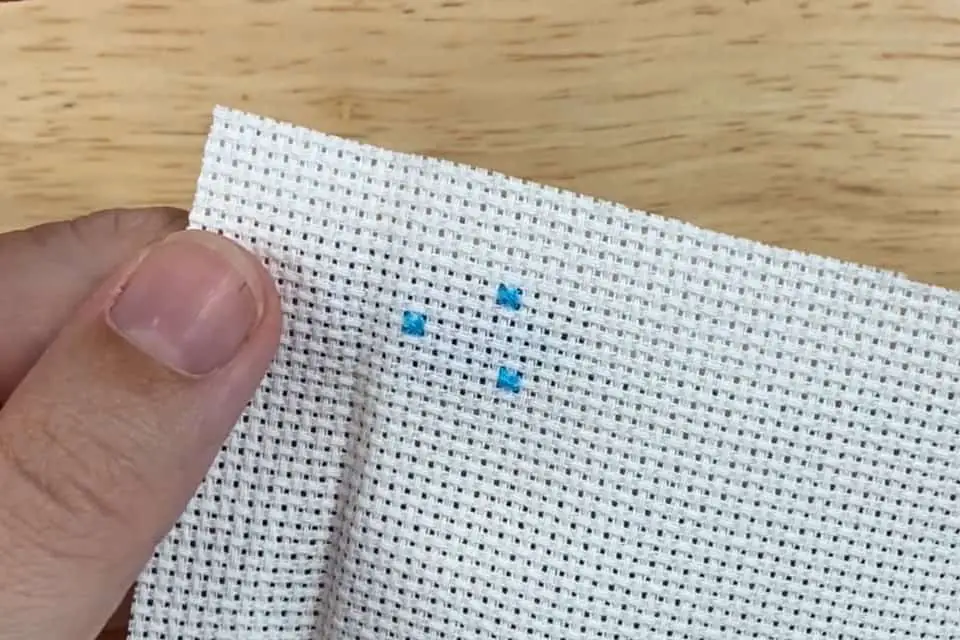
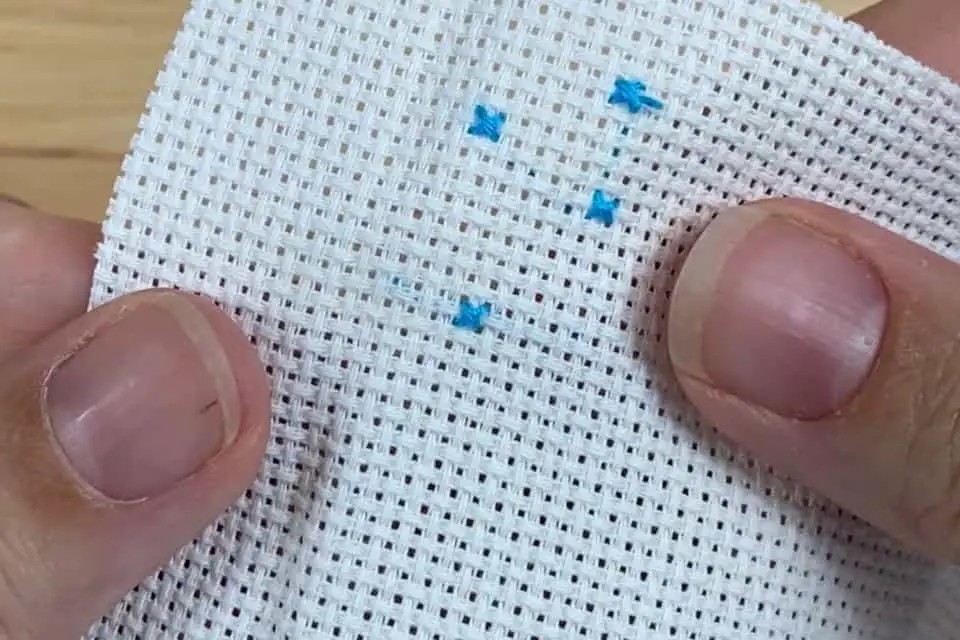
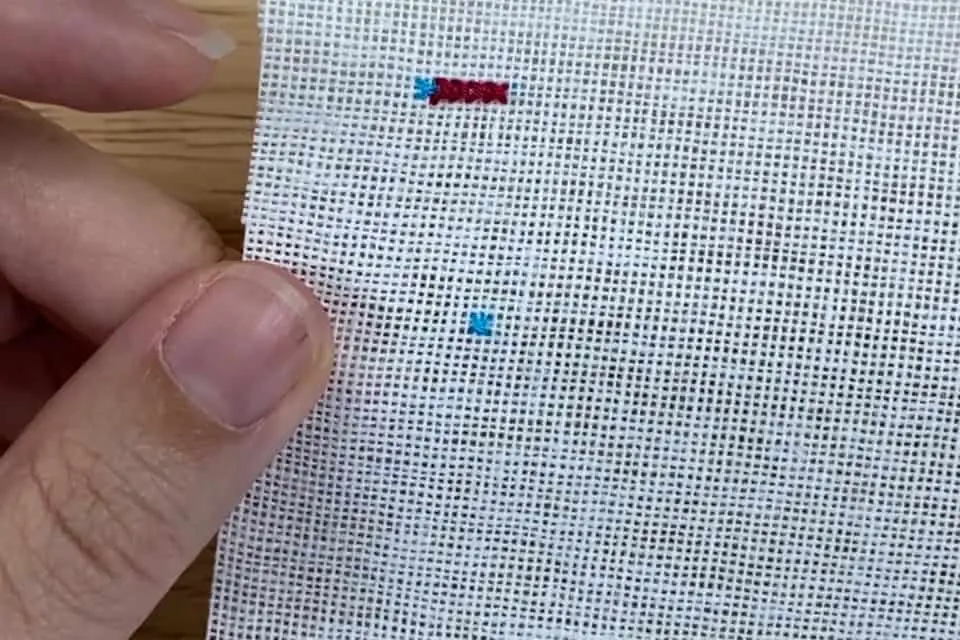
Most cross stitch tutorials show you how to stitch a few stitches in a row. And usually, that’s what you see in most cross stitch patterns. But sometimes, you come across one lonely cross stitch that either has no other stitches of the same color around it, or it’s all by itself in the pattern.
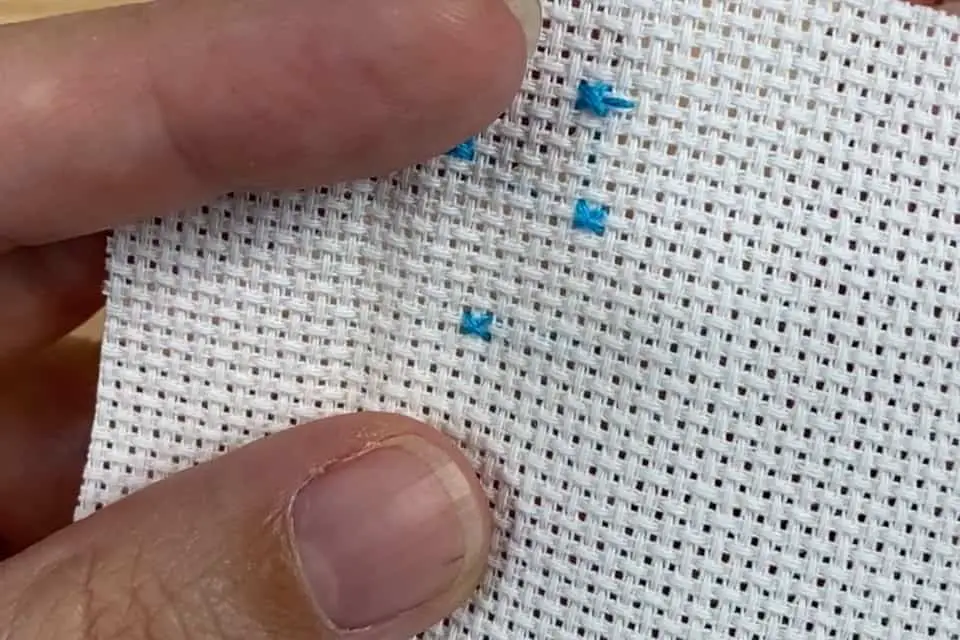
We often see these stand-alone cross stitches in patterns that include motifs like small stars in the sky, gradual shading in an object, or tiny flowers, These are called confetti stitches or confetti cross stitch because they seemed to have dropped randomly out of the sky.
In this tutorial, I’ll show you 5 ways to stitch a single cross stitch.
For a demonstration of each option, check out the video below.
1. Traveling
The easiest way to stitch confetti cross stitch is traveling. Traveling just means dragging the thread across the back of the fabric.
Traveling works best when the embroidery floss is light in color, or the fabric is very dark. Otherwise, you might see the floss through to the front of the fabric.
Traveling doesn’t work too well when stitching on linen. Because the fibers that make up linen often have more space in between them, you can definitely see when the floss crosses over the back of the fabric, especially against a white background.
Traveling works better on aida cloth.
Remember, when dragging the floss across the back of your project not to pull too much. You want the tension to be even so that you don’t cause the fabric to bend and pucker.
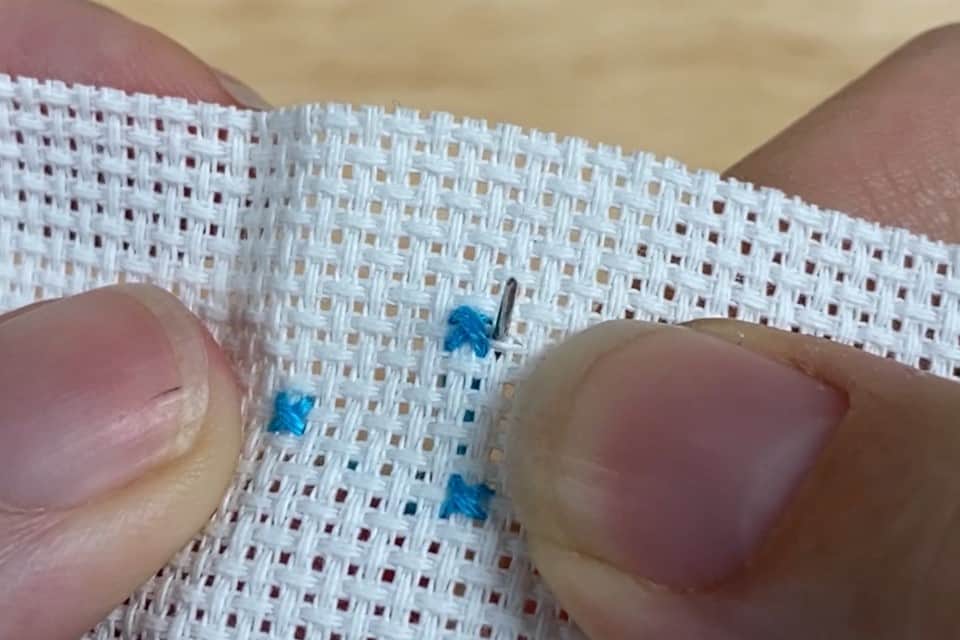
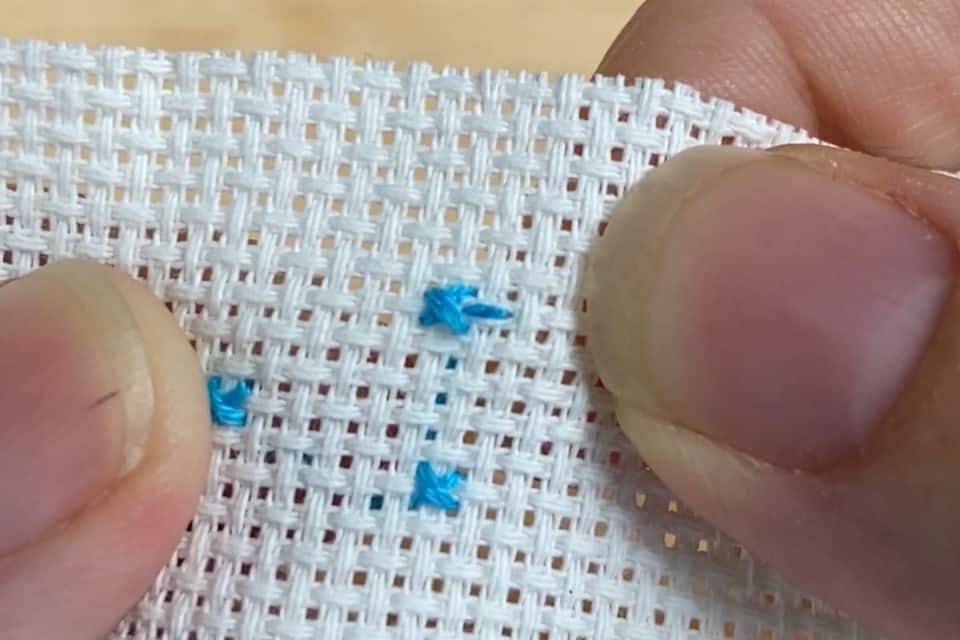
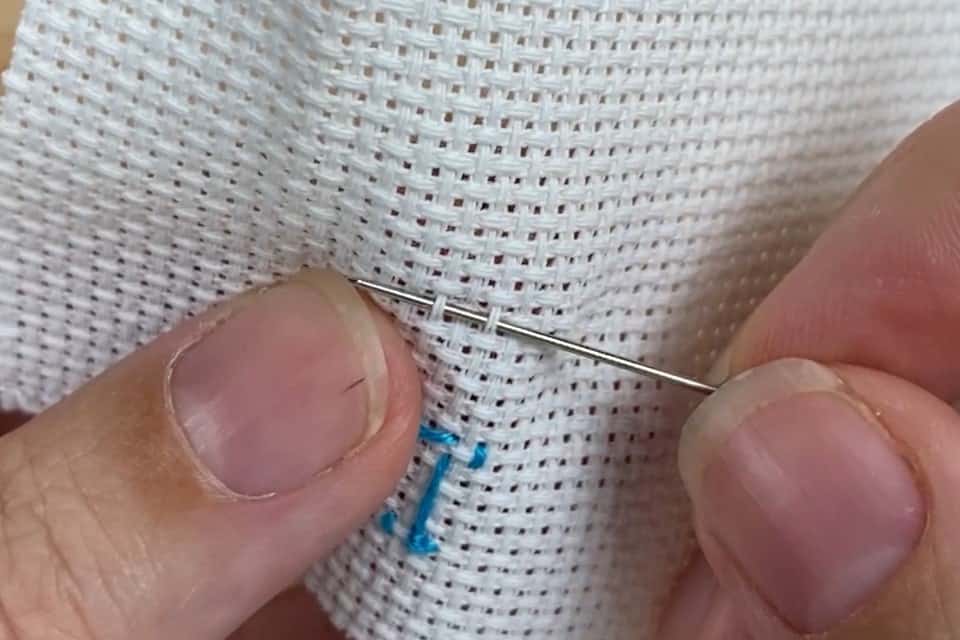
2. Pin Stitch
A pin stitch can be used to anchor a thread when starting and stopping a stitch. It is a tiny stitch that disappears slightly into aida cloth.
Pin stitch is useful when stitching confetti cross stitch because it doesn’t require a row of stitches to start or stop and bury the thread. The thread is buried into the fabric, and nearly disappears.
Use pin stitch to start cross stitch when you’re stitching with only one strand of floss you can’t use loop start method.
Learn how to do the loop start here.
Pin stitch is useful when stitching on a frame, because you can do it from the front of the fabric over. Looking at the back of your fabric can sometimes be a pain when stitching on a lap- or floor-stand frame. And it keeps the back of your project more neat than traveling.
I recommend pin stitch primarily on aida. It won’t work well on linen because the fibers are too far apart, leaving the thread more exposed and less secure. Also, you should only use pin stitch in a fabric square that you will later stitch over.
Enjoying This Tutorial?
Become a VIP and get instant access to free patterns, plus future tutorials and stitchy inspiration delivered to your inbox.
How to do Pin Stitch
Step 1: From the back, push your needle through the very center of the fabric square. You should be between the two middle fibers of the square in the front and in the back, and pull the thread through.
Step 2: From the front, push the needle through the center-left of the fabric square and pull the floss through.
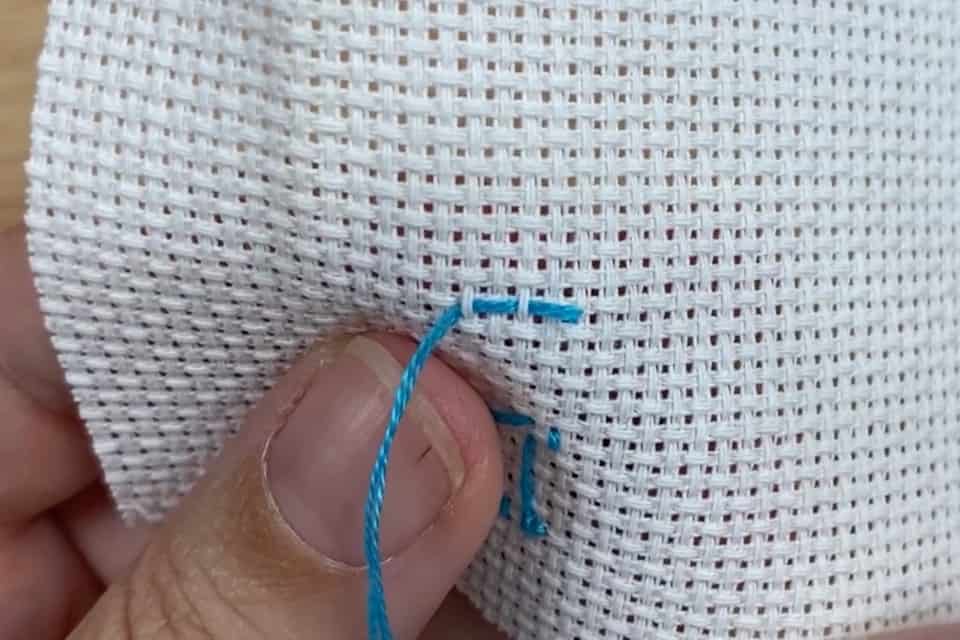
Step 3: From the back, push the needle through the center of the same fabric square again.
Step 4: From the front, push the needle through the center-right of the fabric square and pull the floss through.
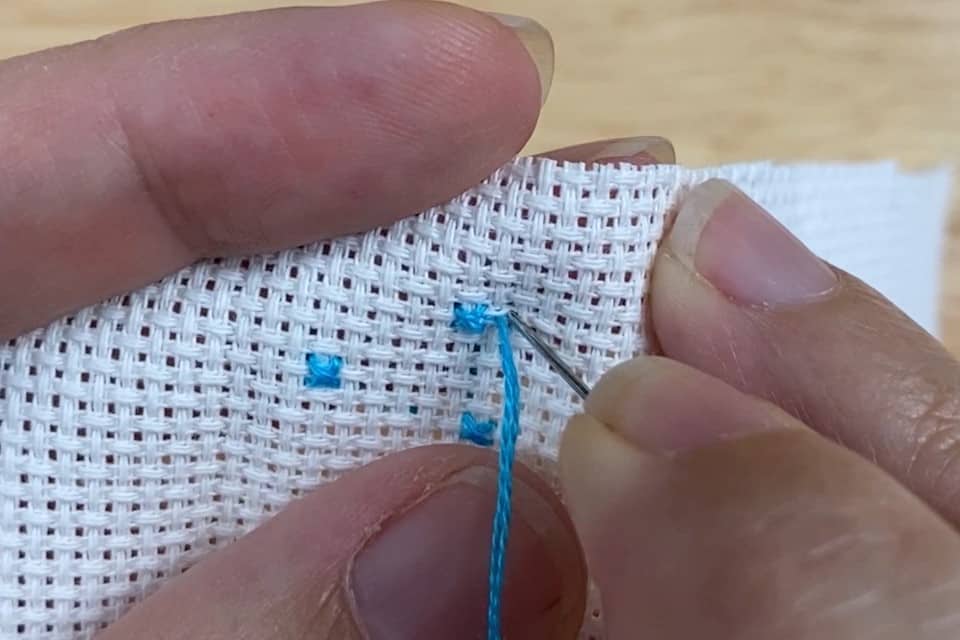
Step 5: From the back, push the needle through the center of the same fabric square for a third time.
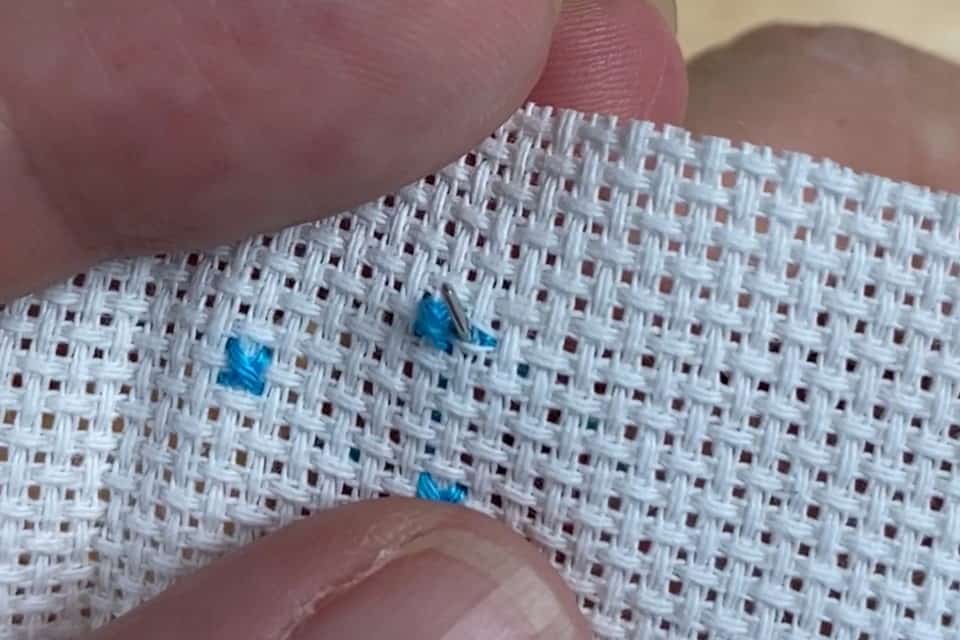
Step 6: Snip the embroidery floss very close, and the pin stitch is done!
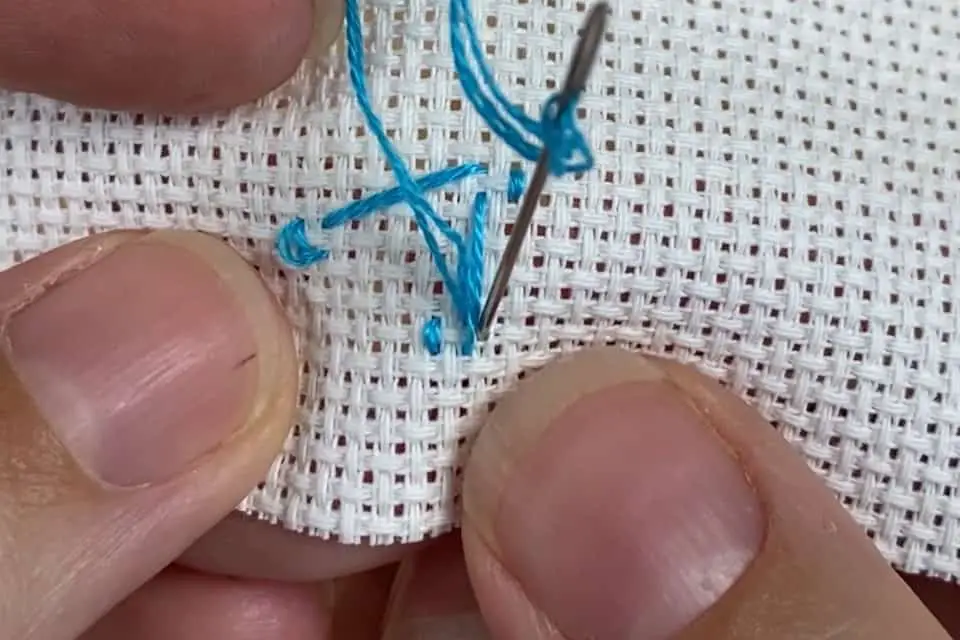
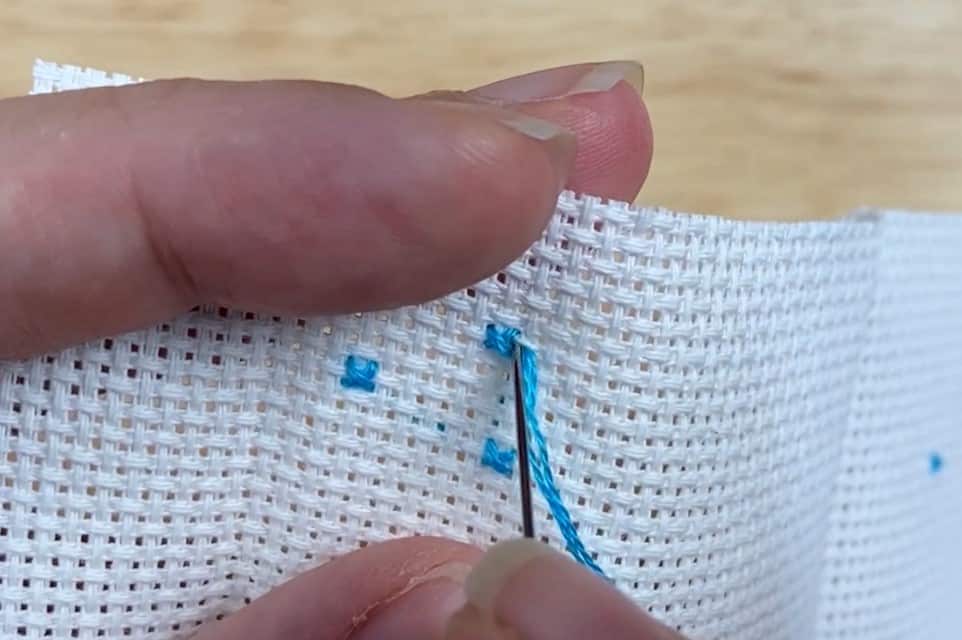
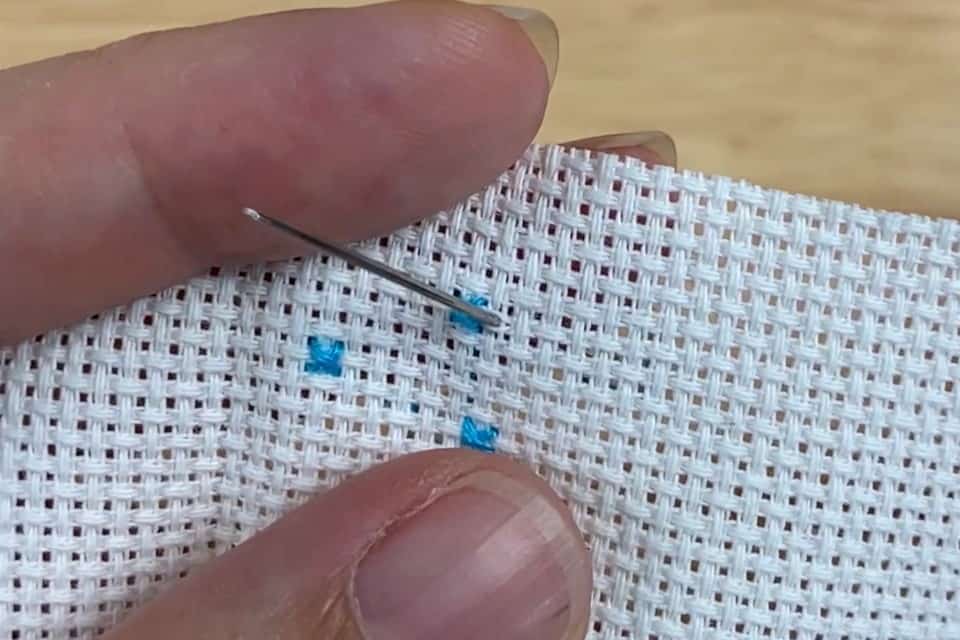
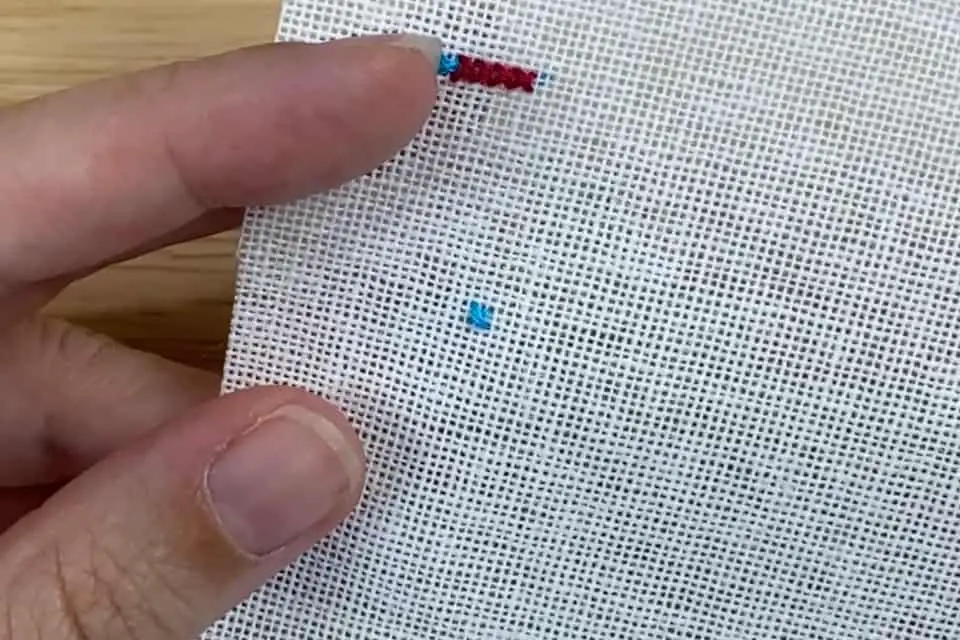
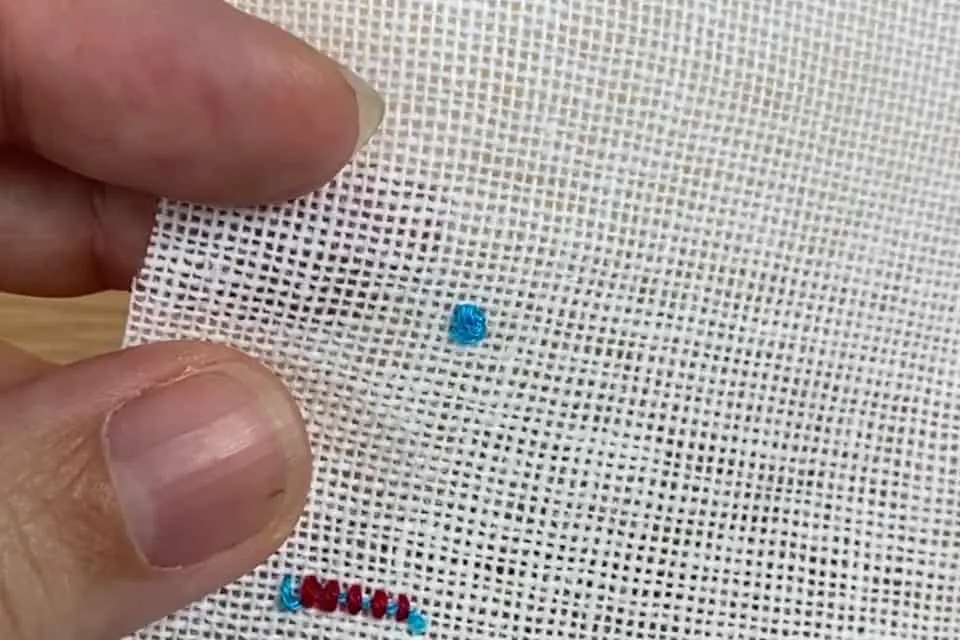
3. Weave Into the Fabric
Weaving the tail ends of your embroidery floss into the fabric is a great way to stitch a single, isolated cross stitch.
The weaving method will work best on aida cloth, and looks better with light floss or dark fabric. This is what I call a “gentle hold” and probably won’t hold up if you put the finished project through the washing machine. But it will hold well enough for a piece that is finished in a frame and hung on a wall.
Weaving the floss into the fabric can word on linen, but only if the woven threads will be covered by other stitches.
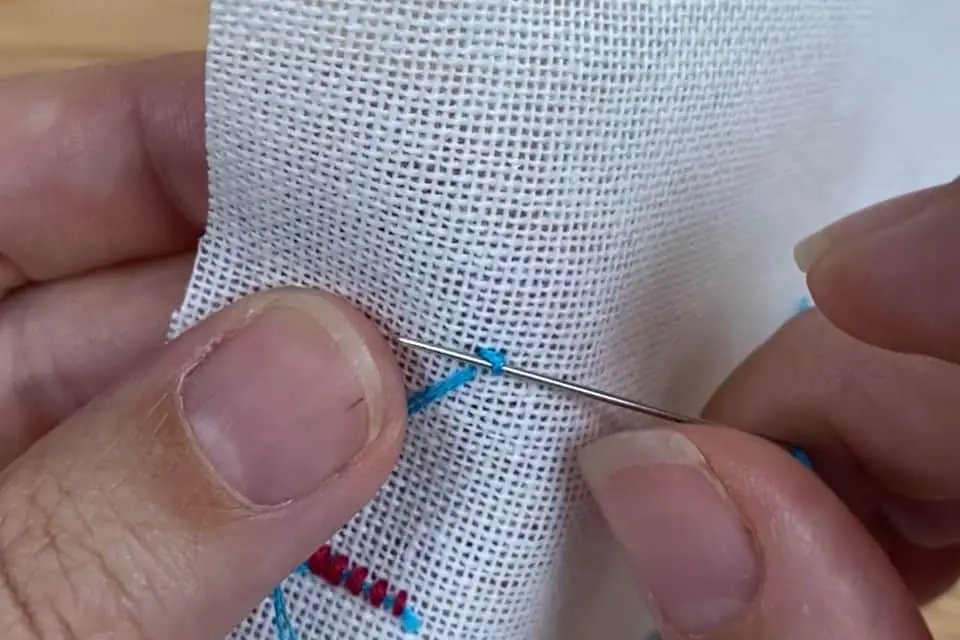
How to Weaving Floss into the Fabric
Step 1: Turn your fabric over to the back and glide the needle through the top fabric fibers.
Step 2: Pull the floss through to the end
Step 3: Flip the fabric over to the front and stitch your one cross stitch.
Step 4: Flip your fabric over to the back and weave the rest of your floss through the fibers of the next couple of fabric squares. Clip the tail of floss close to the fabric.
4. Away Knot
An away knot is a form of temporary knot. You carry the knot “away” on the under side of the fabric, pull it through to the front and tie a knot. Once you stitch over the carried thread, you can snip off the knot in front.
Using an away knot to secure your thread for a single cross stitch works when the cross stitch has other stitches around it. They can be any other kind of stitch and in any color. An away knot will work for both aida and linen, and it’s great for stitching on a frame since you can stitch it from the front.
An away knot won’t work to secure your single cross stitch if it is the only stitch in the area – it needs other stitches to work.
Learn how to use an away knot here.

5. Bury the Tail Twice
Burying the tail twice is a great way to secure a single cross stitch for a stand-alone stitch that doesn’t have any other stitches around it and is all by itself. This method works on linen and is secure enough to endure heavy use, like throwing it through the washing machine.
You’ll need to be using an even number of threads so you can start with the loop start.
Learn how to do the loop start here.
Step 1: Stitch your cross stitch using the loop start.
Step 2: Flip your fabric over, and slip the needle under one of the two stitches created by your single cross stitch.
Step 3: Pass the needle under the second of the two stitches created by the cross stitch.
Step 4: Repeat steps 2 and 3, and snip the floss very short.
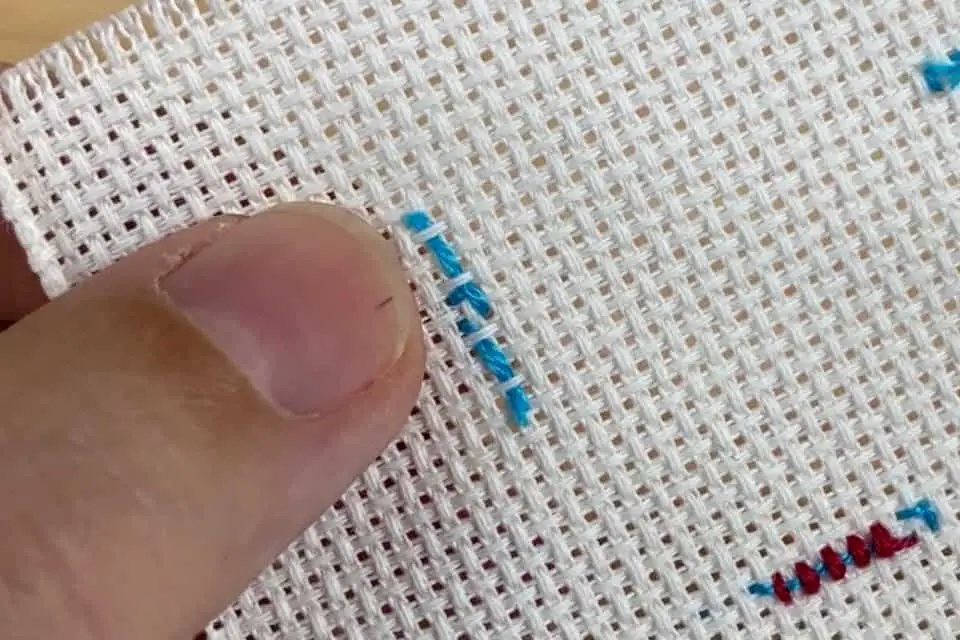
6. BONUS – Skip It!
Learning how to stitch a single, stand-alone cross stitch will help you expend the portfolio of patterns available to you to stitch. But another way to get around these stitches is to avoid them.
You can try to choose patterns that don’t have single stitches or confetti stitches. Notorious Needle Patterns never have “confetti”.
Sometimes in a pattern, you’ll see fading or shading with a few confetti stitches here and there. And it won’t change the overall makeup of the pattern if you just skip the confetti and stitch with the surrounding color.
How to Choose Which Way to Stitch a Single Cross Stitch
If all of this is a little confusing to keep track of what type of fabric or pattern works with which kind of anchor, I’ve created a little cheat sheet for you. Choose your situations on the left, and use one of the methods with a green checkmark.
You don’t have to give me your email or anything. Just click on the button and download the cheat sheet.
Also included in the download is a clickable link that will take you back to this tutorial in case you need to review the demo on how to make the stitches.


2 Responses
You can pin stitch a single stitch too! It’s tough because you have to bury it under your stitch but it’s definitely possible – it’s my go-to method for ending all stitches
I see, thanks!