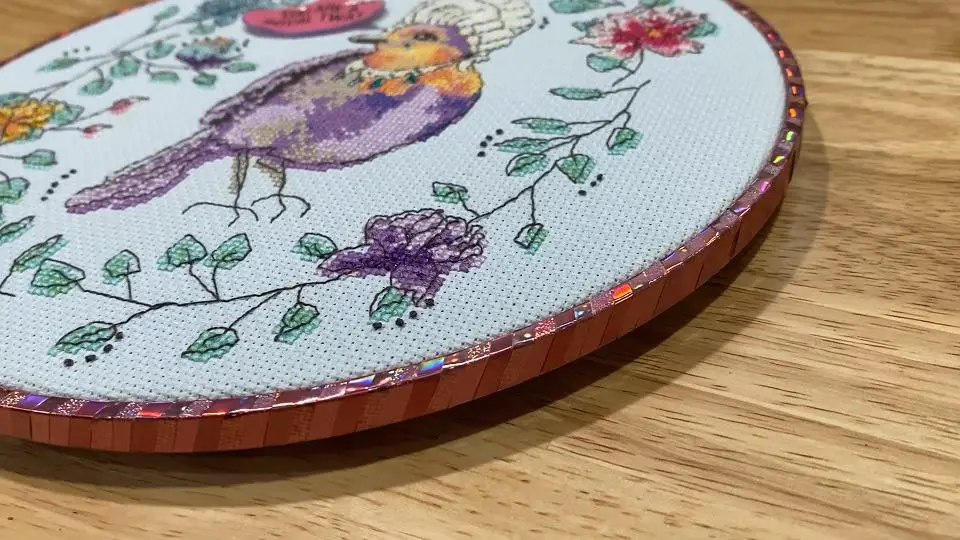
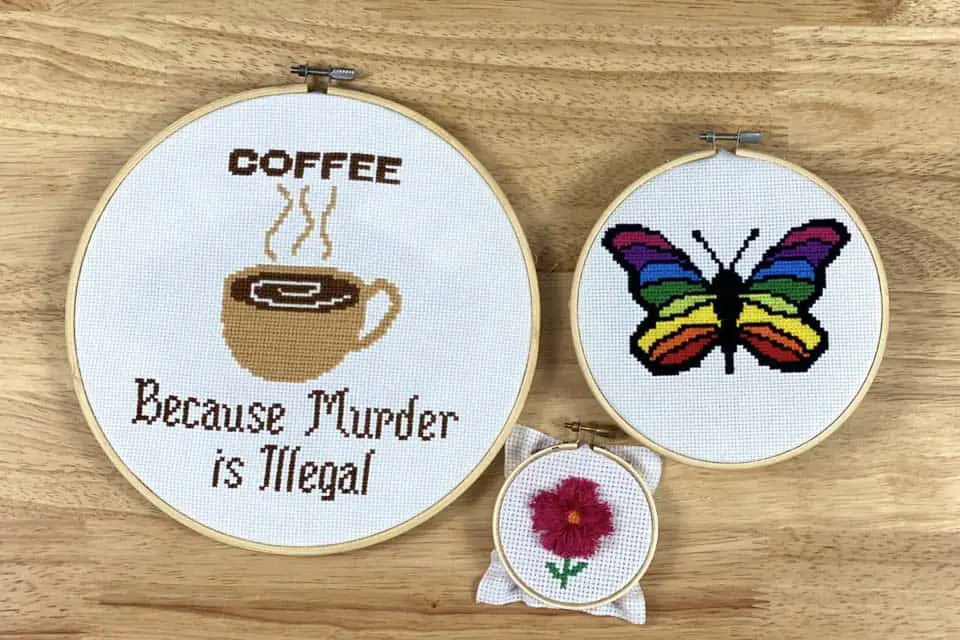
Decorating your embroidery hoop with washi tape is a beautiful solution when you want a stunning and creative finish for your cross stitch project, but you’re low on time and funds.
Watch the video below for a quick demonstration and read on for details.
Quick Links to Information in this Post
Tools and Materials for Washi Tape Embroidery Hoop Finish
VIEW MY AMAZON SHOPPING LIST OF TOOLS AND MATERIALS NEEDED TO COMPLETE THIS PROJECT
Tools & Materials
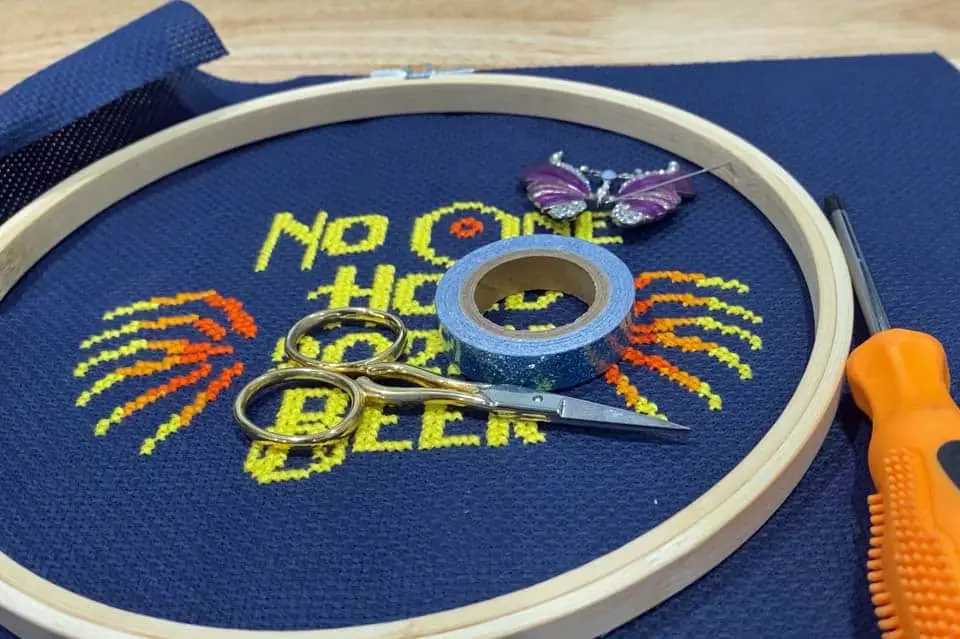
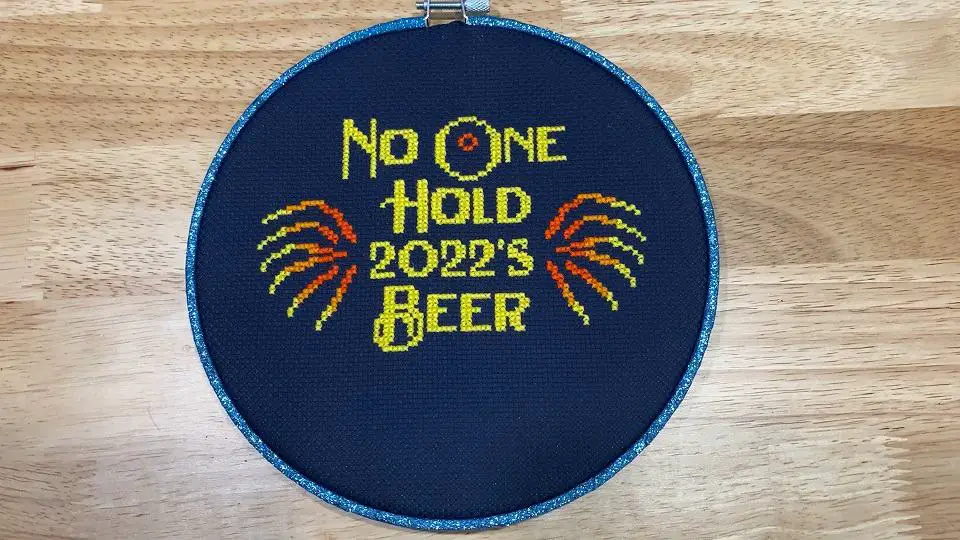
- Complete Cross Stitch Project – I used No One Hold 2022s Beer (discontinued)
- Bamboo Hoops – Choose a size appropriate to frame your cross stitch pattern
- Washi Tape – Pick a color or design that compliments your cross stitch pattern. The bigger your hoop, the more tape you will need.
- Scissors – Use all purpose scissors to cut the washi tape. I used an old pair of embroidery scissors that were already dull.
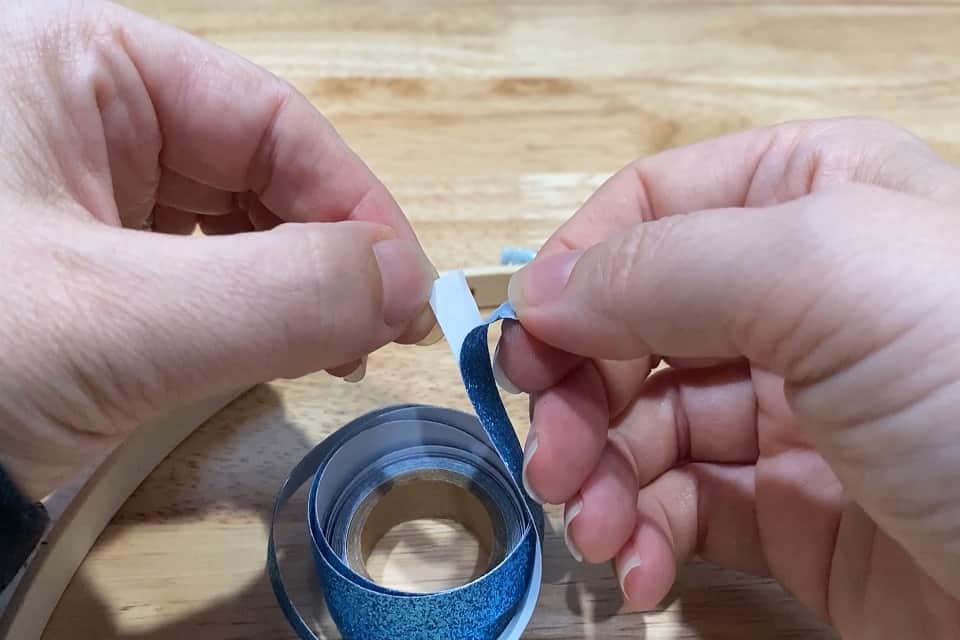
Step 1: Preparing the Washi Tape
Open up your washi tape and find the end. Use washi tape that has a backing. This will help you handle the tape without touching the sticky part and making it less sticky.
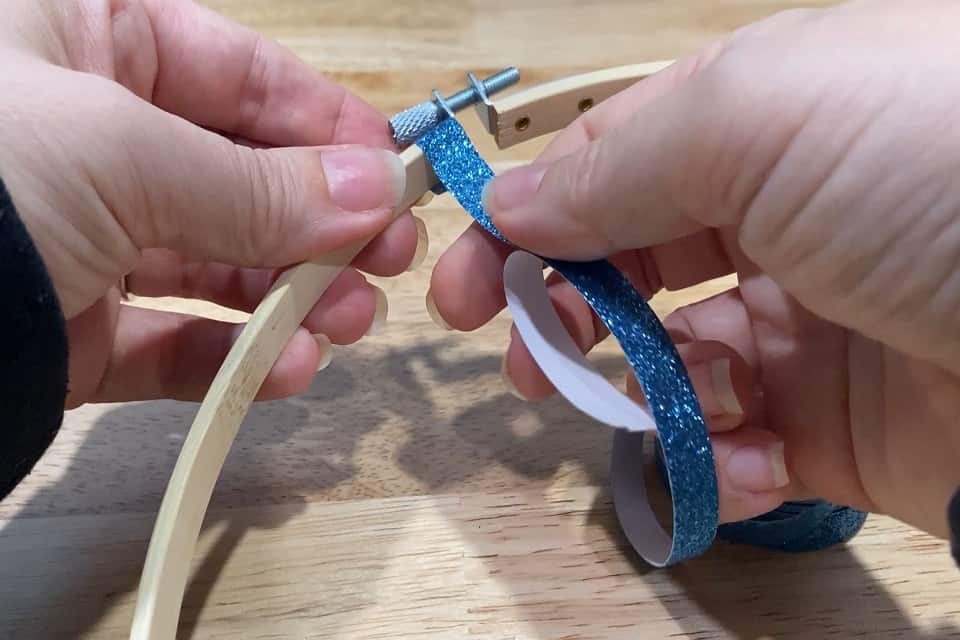
Step 2: Open Embroidery Hoop

If you haven’t already, separate the inner and outer pieces of your embroidery hoop. Set aside the inner piece. We will be decorating the outer piece only.
Step 3: The First Loop Around the Hoop
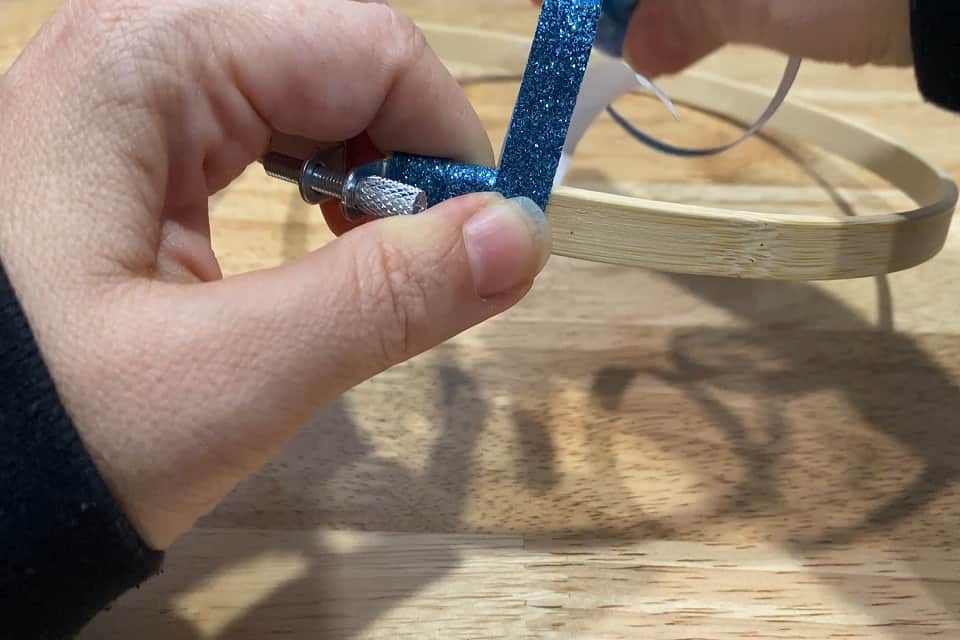
Gently peel away some of the backing off the end of your washi tape. Place the end of the tape at the end of the underside of the outer piece of your embroidery hoop. When starting to wrap the washi tape around your embroidery hoop, go straight around the hoop once so that the washi tape comes back around to where you started and sticks to itself.
Try not to touch the sticky back of the tape with your fingers. The natural oils on your skin will take away some of the stickiness (even if you just washed your hands!).
Step 4 – Wrap the Washi Tape Around the Rest of the Embroidery Hoop
Turn the tape slightly so it is wrapping around the hoop at a slight angle. The tape will naturally move down the hoop as you wrap it. Gently tug on the tape while you wrap it around your embroidery hoop and make sure it’s sticking well to the hoop. Overlap the tape a little bit, too. This will help it stick, and prevent any gaps. I also placed my left thumb against the tape, holding it to the hoop, each time I had to let go with my right hand, to keep the tension on the tape.
If you pull too hard, the tape will rip. (See picture below) It is just paper. But don’t worry. Just start the end again on the inside of the hoop and continue wrapping.
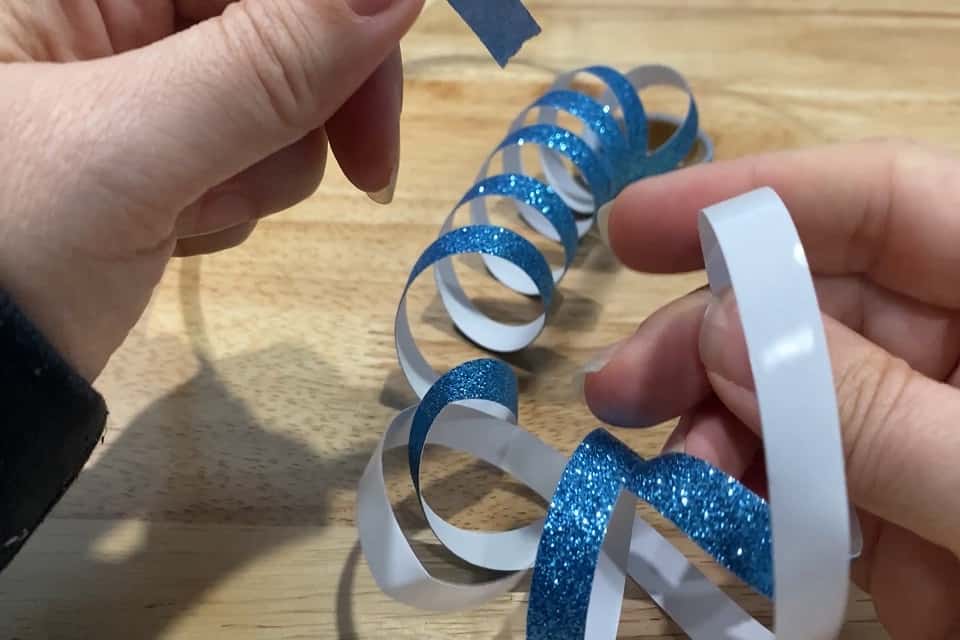
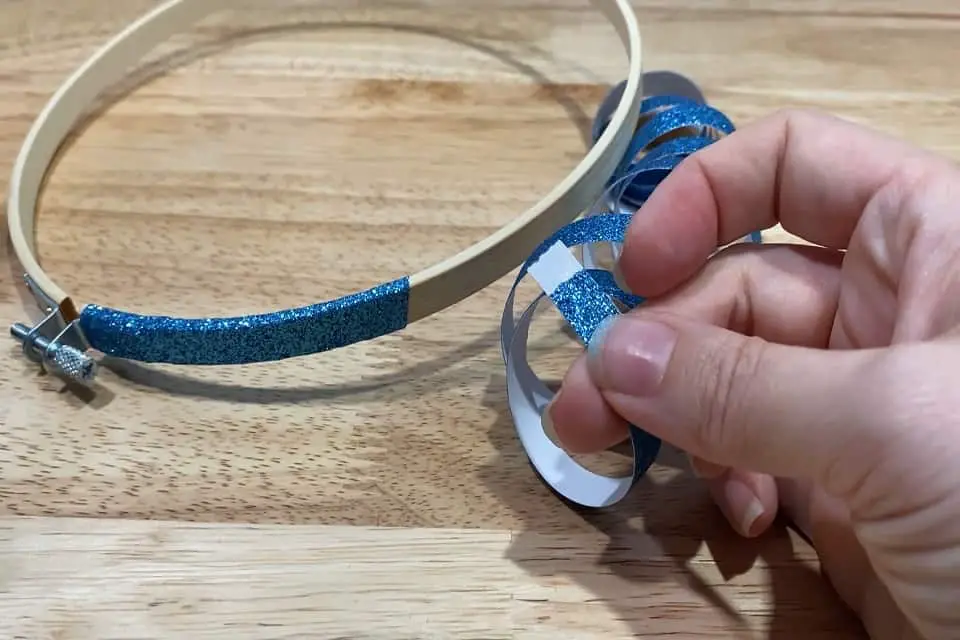
You might find it easier to trim the paper backing as you go so that it doesn’t get in the way. You might even find it easier to trim your washi tape and add one piece at a time. It depends on the look and the stickiness of the tape. My tape wasn’t that sticky, so using one big piece worked better to keep it tightly wrapped around the hoop. But the glitter pattern on the tape meant that if I cut it into several smaller pieces, it wouldn’t change the look of the finished hoop at all.
Enjoying This Tutorial?
Become a VIP and get instant access to free patterns, plus future tutorials and stitchy inspiration delivered to your inbox.
Step 5 – Wrap the Washi Tape Around the End of the Embroidery Hoop
When you come to the end, wrap your tape around one extra time.

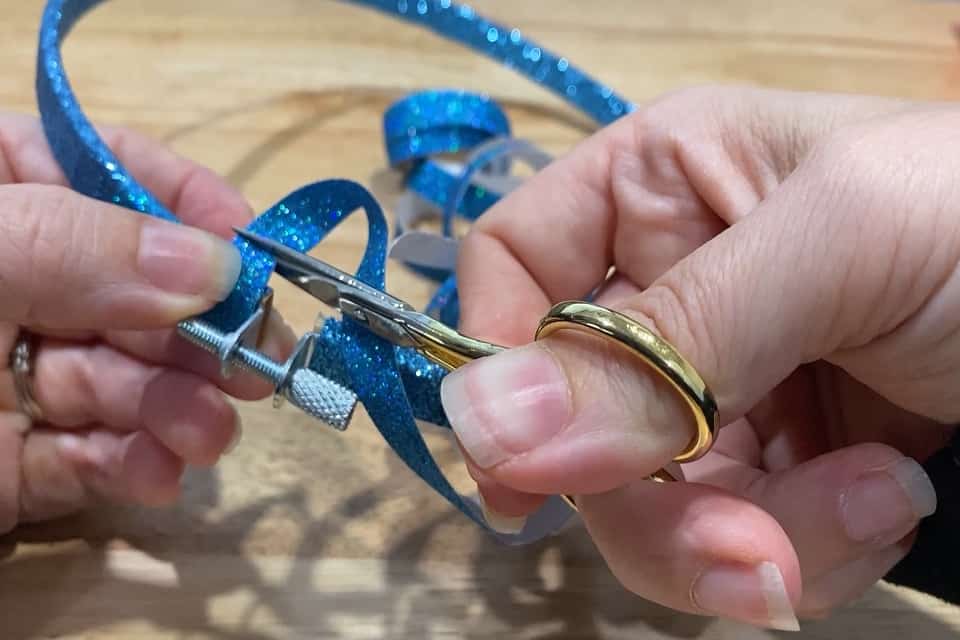
Then cut the tape so that the end is on the inside of the hoop.
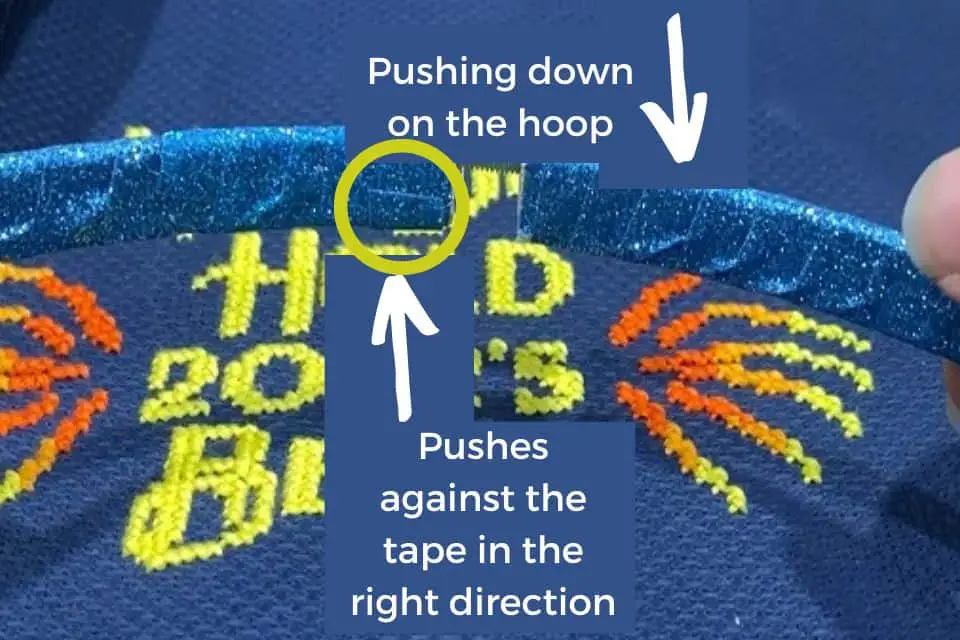
Step 6 – Place Your Finished Embroidery Project In Your Decorated Hoop
May sure to place the outer hoop down over the inner hoop and the fabric so that the washi tape is pressed in the SAME direction as you wrapped it. This will reenforce and hold the end of the tape in place.
The screwdriver is because the screwhead on my embroidery hoop had a philips heads.
Step 7 – Finish your hoop like you normally would
You can use multiple rows of tape to create a spiralized or striped affect, but it is harder to work with.